The key to any successful Easter hunt is all in the Basket! Luckily, we’ve handpicked the best ones for the ever-important Easter egg hunt and for use long after the choccie eggs are gone! Baskets are mighty handy and perfect for everything from chocolate collecting (and stashing!) right through adventures, veggie hauling, and much more! Discover our top ten Basket picks for Easter and everyday fun!
~
Basket goodness for Easter and Beyond!
1. Berry Basket
The perfect size for little (and big hands) to collect treasures of every kind, from Easter surprises to pencils and kitchen bits and bobs, this is one Basket for which you will discover many uses! Berry Basket is also a great gifting size, filled with Cozy Dinkum for Easter or a collection of colourful craft essentials, you are sure to make somebodies day!

Choose your Berry Basket
2. Mosey Rattan Basket
Oh, Mosey, it really is one of our all-time fave Baskets. Fabulous for holding surplus Easter loot or filling with baked Easter goodies to gift, this Basket is always at the top of our Easter list!
Mosey is excellent for carting around the farmer's market, carrying your everyday essentials (hello, new handbag!) or storing kiddo toys. This generous Basket is sure to become your daily go-to!
 Shop our Mosey Basket
3. Rattan Strolley
Strolley makes for the BEST egg hunting wheeled Basket around! With its wheels and sturdy handle, the Strolley is the ideal Basket for all those enthusiastic, wobbly toddlers.
Strolley or Trolley, let them decide with a flip of the lid! This is one convertible Basket that every kiddo is sure to love long after the Easter Bunny has hopped away. It’s hours of Dinkum Doll play and storage galore!

Choose your Rattan Strolley
4. Rattan Mini Chari Bag
Mini Chari is our woven wonder for Easter egg collecting on the go. Wear it as a backpack, bag or for extra speedy collectors, it transforms into a bike Basket too!
When the Easter fun is over, Mini Chari makes a handy hold all around the house, from pegs to socks and those tiny collected kiddo treasures; The Mini Chari has you covered!
.
Choose your Mini Chari Bag
5. Rattan Mushroom Basket
Create a wonderful Easter surprise with our Mushroom Basket and watch your littles wake to a most magical scene on Easter morning.
SO much more than a Mushroom Basket, this fungi (see what we did there!) little house makes for a sweet nightlight when filled with fairy lights or is a cute little tote to take out and about.

Shop our Mushroom Basket
.
6. Piki Basket
The Piki Basket is our go-to Easter Basket year after year. It’s lightweight with handles and has ample room inside to hold plenty of sugary goodness!
After Easter, Piki makes for an excellent storage Basket, and as the name suggests, it’s a basket made for picnicking too.

Choose your Piki Basket
.
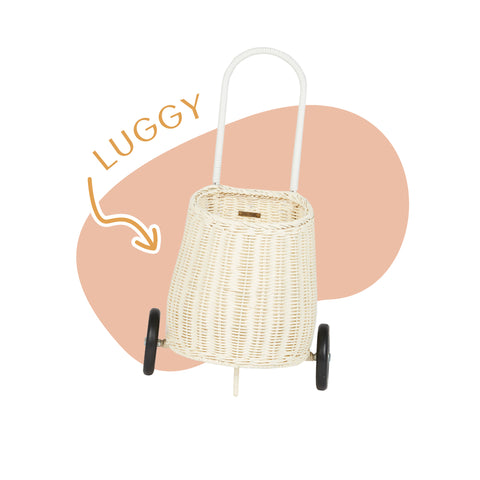
7. Rattan Luggy
The Luggy is one for the fast movers come Easter hunt time. Perfect for piling high with chocolate eggs, Easter goodies and Cozy Dinkum friends!
Luggy's make fabulous hold-all's around the house or on the go for flowers, toys and all of life's essentials. Fill it up, and off you go!

Choose your Rattan Luggy
8. Rattan Tarry Basket
For BIG eggs only, the Tarry Basket is one for the seasoned Easter hunters! This double-duty Basket is also fantastic for storage, collecting and carting. We love Tarry for herb holding, block keeping and mess control!

Shop our Rattan Tarry Basket
9. Casa Bag
The perfect place to stash choccie? In our Casa Bag, of course! This mobile home offers the sweetest storage solution for all those Easter Eggs! It also makes a fabulous accessory to any littles outfit and is all too cute when put on display.

Choose your Casa Bag
10. Rattan Egg Basket
Is there anything more precious than a baby's first Easter?! Create a beautiful Easter gift filled with forever treasures nestled in our Egg Basket! Also, with its big round handle, this Basket's the goods for any Easter egg hunter. Beyond Easter, the Egg Basket makes a lovely addition to the bathroom to hold luscious soaps and bath salts or as a stylish tote to take out and about with you!

Shop our Egg Basket

]]>


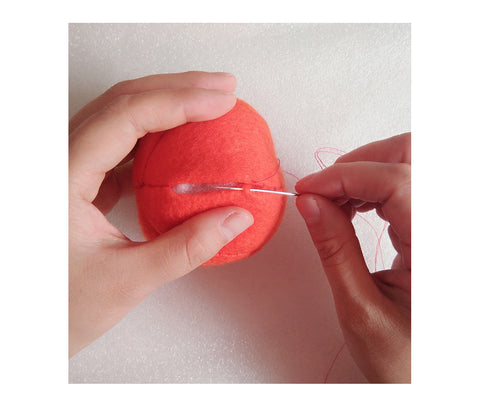
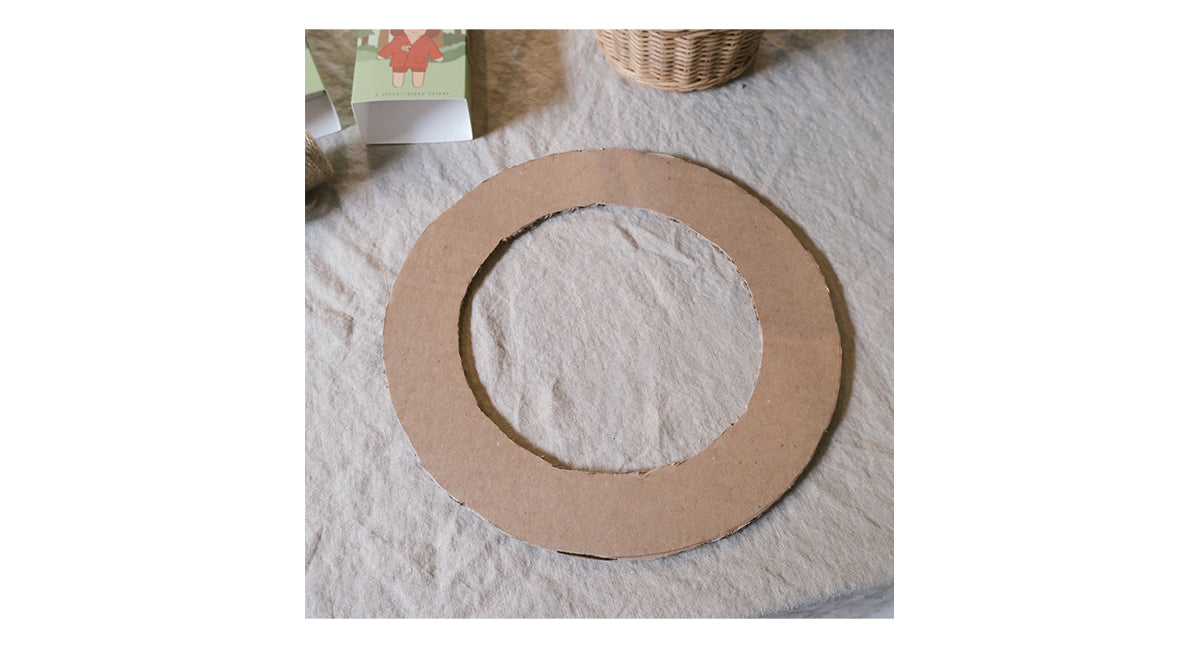
 01Measure out cardboard
 02Cut
02Cut 03Measure and cut doors
 04Sponge paint background
 05Draw your magical set
 06Create your Narnia forest
 07Paint doors
 08Secure door
 09Place snow balls
 10Create the rest of the magical snowscape
 11Measure and cut the back of wardrobe
 12Assemble the back of wardrobe
 13Assemble the whole wardrobe
 14Voila!
 01Create backdrop
 02Prepare the setting
 03Draw you sunbeams
 04Paint & decorate!
  05Draw your waves
 06Draw your rocks
 07Finishing touches
 08Voila !


 01GET STARTED
 02Trace & Cut
 03Get Creative!
  04Decorate!
 05Structure
 06Added dimension!
 07Assemble
 08Voila !


 01GET STARTED
 02Cut & Trace
 03Fold
  04Pinch your Shell
 05Repeat Repeat Repeat!
  06Assemble with love
 07Stick & Ribbon
 08Voila !


 01Tear and Mix
 02Inflate & cover!
  03Layer & dry
 04Paint & decorate!
  05Cut & coat!
  06Assemble with love
 07Seal & surprise!!
  08Voila !


 02Cut shapes
 03Coat with egg
 04Filling
 05Popsicles
 06Bake!
 07Icing
 08Decorate


 02Cut out the pattern
 03It's time to paint!
 04Make your holes!
 05Wrap the twine
 06Pull together
 07LETS DECORATE!
 08Finishing touches

 01To begin
 02Create the stick
 03Measure!
 04Create the stem
 05Glue together
 06Leave to dry
 07Finishing Touches

 01To begin
 02Draw the wings
 03Fold and trace!
 04Cut the wings
 05Draw
 06Poke the holes
 07Thread the twine
 08IT'S PAINTING TIME !
 09Make straps for the wings
 10Ta-dah!


 02
02 03
03 04
04 05
05 06
06 07
07 08
08 09
09 10
10 11
11